Guide to Roof-Top Tents: Exploring Types, Features, and Benefits for Overlanders
Guide to Roof-Top Tents: Exploring Types, Features, and Benefits for Overlanders
Roof-top tents have totally revolutionized camping for overlanders, offering convenience, comfort, and the ability to deploy a campsite wherever you are. Unlike traditional ground tents, these vehicle-mounted shelters provide an elevated sleeping area, keeping you off uneven terrain and away from wildlife. They’re quick to set up, durable in harsh weather, and a must-have for adventurers seeking both practicality and ease on their trips.
With the growing popularity of overlanding, you may have noticed that roof-top tents are now a top choice for outdoor enthusiasts looking to enhance their camping experience. This guide will break down the different types, key features, and installation tips, helping you choose the perfect option for your future adventures.
Affiliate Disclosure: CampAndOverland participates in the Amazon Services LLC Associates Program, an affiliate advertising program designed to provide a means for sites to earn advertising fees by advertising and linking to Amazon.com.
What Are Roof-Top Tents?
Roof-top tents (RTTs) are essentially compact, portable shelters mounted on the roof of your vehicle. Think of them as the penthouse suite of the campsite. They offer a safe, elevated sleeping area that keeps you off the ground and away from uneven terrain, moisture, and wildlife. With their built-in mattresses, weather-resistant materials, and easy setup, RTTs are designed to make camping not only more comfortable but also more efficient.
A well-made RTT can be set up in just a few minutes—faster than you can dig out your old ground tent from your truck. They free up vehicle space, protect you from the elements, and turn your car or truck into a fully functional basecamp. It’s no wonder that overlanders and adventurers are flocking to this upgrade.
Why Are They So Popular?
-
Convenience: RTTs are quick to set up and pack down, making them perfect for road trips or multi-stop adventures.
-
Safety: Elevated sleeping keeps you away from ground animals and damp conditions, a little extra peice of mind.
-
Durability: Built with tough materials, these tents can handle extreme weather better than most ground options.
Types of Roof-Top Tents
When it comes to roof-top tents, one size—or style—definitely doesn’t fit all. These tents come in a few main types, each catering to different camping needs, vehicle setups, and personal preferences. Let’s break them down to help you figure out which one fits your overlanding adventures.
Soft-Shell Roof-Top Tents
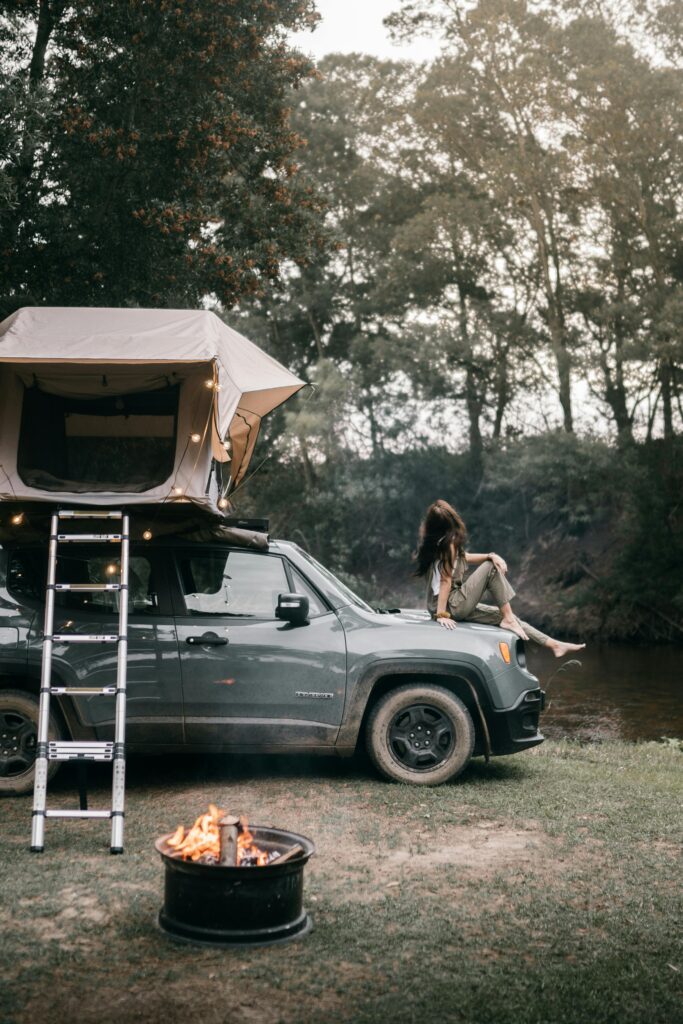
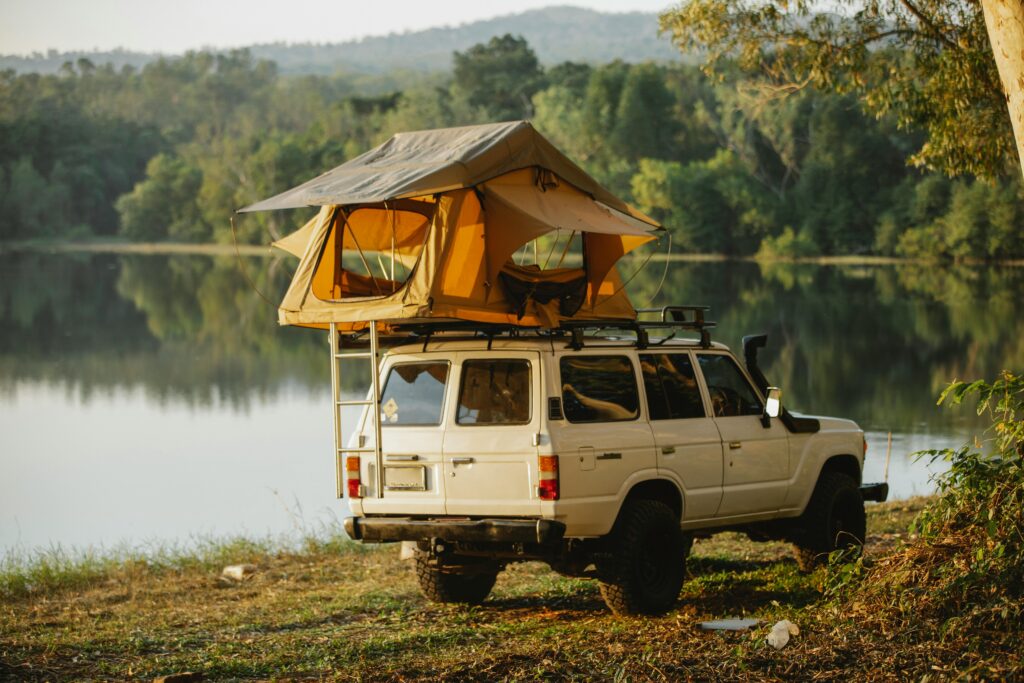
Soft-shell roof-top tents are the classic choice for overlanders who want a lightweight, affordable, and versatile camping solution. They feature a fabric structure that folds out, often doubling or even tripling the footprint of your roof space when fully set up. These tents are typically covered with a protective fabric cover when stored, ensuring they stay compact and secure during travel.
One of the standout benefits of soft-shell tents is their spacious interiors. Thanks to the fold-out design, they can easily accommodate families or groups, offering enough room for extra gear, sleeping bags, and even pets. Additionally, many models come equipped with annex rooms or awnings that attach to the base of the tent, creating extra living space. This makes them ideal for campers who prefer an extended, comfortable stay.
Soft-shell tents are also known for their ease of installation. They attach to most roof racks and can be deployed with relative simplicity. However, they may take a bit longer to set up compared to hard-shell models—usually around 5–10 minutes.

Sizes and Examples of Soft-Shell Roof-Top Tents
| Product Name | Product Specs | Price |
|---|---|---|
| Roofnest Meadowlark Buy on Amazon |
|
$1,595.00 Price listed on Roofnest.com |
| Eezi-Awn Series 3 2200 Buy on OffRoadTents.com |
|
$2,640.00 Price listed on OffRoadTents.com |
| Thule Tepui Foothill Buy on Amazon |
|
$1,699.95 Price listed on Thule.com |
Soft-Shell Tent Add-Ons and Extras
Soft-shell roof-top tents are incredibly versatile, and the right add-ons can enhance your camping experience. Here are some popular options to consider:
-
Annexes: Provide extra living or storage space beneath the tent, perfect for changing, storing gear, or creating a sheltered dining area.
-
Awnings: Extend shade and protection, ideal for relaxing outdoors during sunny days or light rain.
-
Insulated Liners: Keep you warm during colder nights by retaining heat inside the tent.
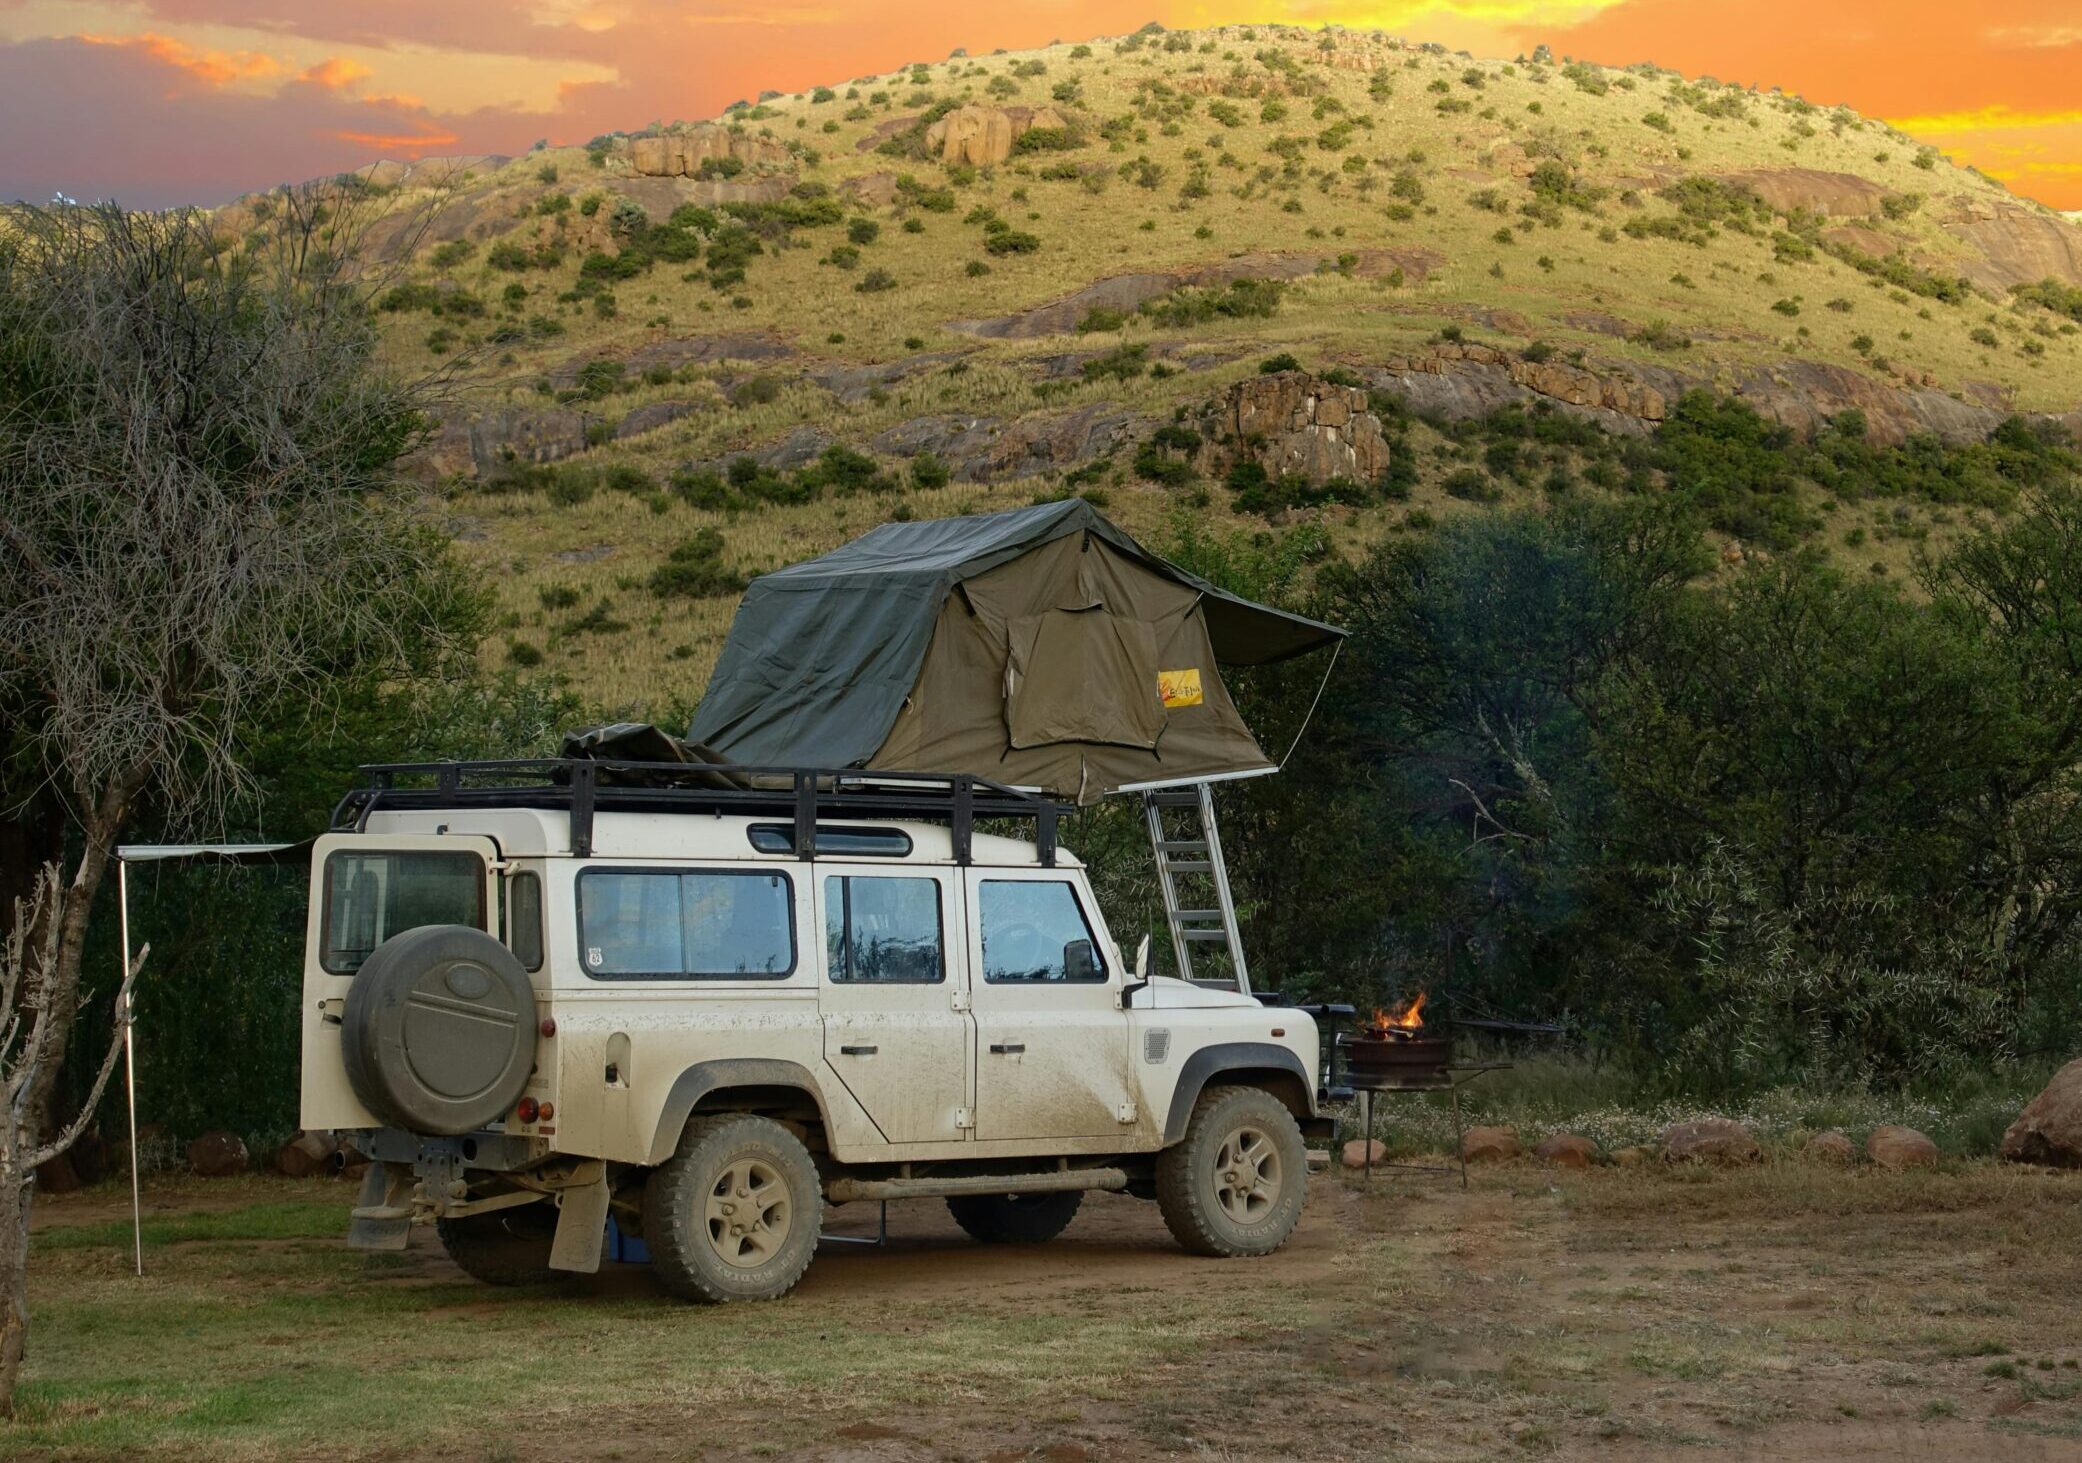
Hard-Shell Roof-Top Tents
Hard-shell roof-top tents are a premium option for overlanders seeking durability, convenience, and sleek designs. With a sturdy outer shell, these tents are built to withstand extreme weather, reduce wind drag while driving, and offer one of the fastest setups in the camping world. If you’re upgrading your overlanding gear, hard-shell RTTs are definitely a game-changer.
Types of Hard-Shell Roof-Top Tents
Hard-shell tents come in a variety of styles, each tailored to different preferences and needs:
Clamshell Hard-Shell Tents
These tents open at an angle, creating a wedge shape that’s aerodynamic and highly wind-resistant.
-
Key Features: Aerodynamic when closed, spacious headroom at one end, and great performance in high winds.
-
Best For: Solo adventurers or couples who value minimalism and efficiency.
-
Example: Roofnest Falcon 3 EVO – Estimated Price: $2,795.00.
Pop-Up Hard-Shell Tents
Pop-up tents open vertically, creating a box-like structure with full headroom.
-
Key Features: Fastest setup time, maximum interior height, and compact storage when closed.
-
Best For: Campers who prioritize convenience and want extra standing space inside the tent.
-
Example: iKamper Skycamp Mini 3.0 – Estimated Price: $3,699.00.
Hybrid Hard-Shell Tents
These tents combine the best features of clamshell and pop-up designs, offering a balance of space and aerodynamics.
-
Key Features: More interior headroom than clamshells with better aerodynamics than pop-ups.
-
Best For: Families or small groups needing a versatile tent for extended trips.
-
Example: James Baroud Discovery Evolution – Estimated Price: $3,995.00.

How to Set Up a Roof-Top Tent
Setting up a roof-top tent (RTT) might seem challenging at first, but with a few simple steps, you’ll be ready to enjoy elevated camping adventures in no time. Whether you’ve chosen a soft-shell roof-top tent or a hard-shell roof-top tent, proper setup ensures safety, stability, and a hassle-free camping experience. Follow these detailed steps to set up your tent and get the most out of your overlanding gear.
Step 1: Install the Roof Rack
A sturdy roof rack or crossbars is essential for mounting your roof-top tent. Make sure the rack is compatible with your vehicle and can handle both the dynamic weight capacity (while driving) and the static weight capacity (while parked with occupants in the tent).
-
Pro Tip: Check your vehicle’s owner’s manual for weight limits and pair your RTT with a heavy-duty roof rack.
-
Related Resource: Learn more in our guide to roof racks for overlanding.
Step 2: Mount the Tent to Your Roof Rack
Once your roof rack is installed, mounting the tent is the next critical step. Most roof-top tents come with universal mounting hardware that works with standard crossbars.
-
Position the Tent: Carefully lift the tent onto your roof rack (you’ll likely need help for this step). Choose the orientation—either side-opening or rear-opening—depending on your camping setup and vehicle type.
-
Attach the Mounting Brackets: Use the provided brackets, bolts, and plates to securely attach the tent to your roof rack. Tighten all bolts evenly to avoid shifting during travel.
Pro Tip: Center the tent on your roof rack for proper weight distribution and safer driving.
Step 3: Open and Deploy Your Roof-Top Tent
Now it’s time to deploy your tent, which varies slightly depending on the type of RTT you’ve chosen, check your product manual:
For Hard-Shell Roof-Top Tents:
-
Release the latches securing the hard shell.
-
Push or lift the shell open (gas struts make this quick and easy).
-
Adjust the ladder to the correct height and climb in!
For Soft-Shell Roof-Top Tents:
-
Remove the protective fabric cover and unstrap the tent.
-
Pull the tent open and extend the built-in ladder.
-
Use the support rods provided to set up awnings, windows, or an annex.
Step 4: Secure the Ladder and Tent
Adjust the ladder to match the height of your vehicle, ensuring it’s on firm, level ground. For soft-shell models, the ladder also provides additional support for the tent platform.
-
Safety Tip: Double-check that all ladder locks are engaged to prevent slipping or tipping.
Final Checks Before Use
Before climbing into your RTT, perform a quick inspection:
-
Confirm that all bolts and brackets are securely tightened.
-
Check that the ladder is stable and positioned on solid ground.
-
Ensure any fabric components are properly secured to avoid flapping in the wind.
Pro Tips for a Smooth Setup
-
Practice deploying your tent at home before heading out on your first trip.
-
Pack a small toolkit with wrenches and screwdrivers for adjustments on the road.
-
Use an anti-theft locking system for added security if you leave the tent mounted to your vehicle.
How to Determine if a Roof-Top Tent Fits Your Vehicle
Selecting the right roof-top tent (RTT) for your vehicle is crucial for a safe and hassle-free camping experience. Understanding your vehicle’s specifications, roof rack compatibility, and weight capacity will help you make an informed decision. Here’s a step-by-step guide to ensure your RTT fits perfectly.
Step 1: Check Your Vehicle’s Roof Weight Capacity
Your vehicle has two important weight limits to consider:
-
Dynamic Weight Capacity: This is the maximum weight your roof can handle while the vehicle is in motion. It includes the weight of the RTT and any additional gear mounted on the roof.
-
Static Weight Capacity: This is the maximum weight your roof can support when the vehicle is stationary. It includes the tent, occupants, and gear.
-
Pro Tip: Most vehicle manuals specify these limits, or you can check online forums or the manufacturer’s website.
Step 2: Ensure Roof Rack Compatibility
Roof-top tents require a sturdy roof rack or crossbars to mount securely. Verify that your existing roof rack can handle the combined weight of the tent and occupants.
-
Look for heavy-duty roof racks designed specifically for RTTs.
-
Check the dimensions of your crossbars to ensure they match the RTT’s mounting brackets.
-
Check out our Roof-Rack Guide for more information on compatibility
Step 3: Measure Your Roof Dimensions
Not all RTTs fit all vehicles. Measure your roof area to ensure the tent’s closed dimensions align with the available space. Pay attention to:
-
Length and Width: Ensure your roof can accommodate the tent when it’s closed.
-
Overhang: Some RTTs extend beyond the edges of the roof; confirm this won’t interfere with doors, windows, or other components.
Step 4: Consider Vehicle Height
Adding an RTT increases the overall height of your vehicle, which can impact:
-
Garage Clearance: Ensure your vehicle with the RTT attached will still fit in your garage.
-
Tree and Overpass Clearance: Be mindful of height restrictions when driving off-road or under low-clearance areas.
Step 5: Verify Tent Orientation Options
Some roof-top tents are side-opening, while others are rear-opening. The orientation can affect:
-
Accessibility: Side-opening tents are easier to access on wider vehicles like trucks and SUVs.
-
Camp Setup: Rear-opening tents may be more practical if you’re using a hatchback or need extra space behind your vehicle.
Step 6: Check Ladder Compatibility
The ladder that comes with your RTT must be long enough to reach the ground from your vehicle’s roof. Vehicles with higher roofs, such as lifted trucks or vans, may require a ladder extension.
Step 7: Account for Weight Distribution
An RTT adds significant weight to your roof, which can:
-
Lower fuel efficiency.
-
Impact vehicle handling, especially during turns or in windy conditions.
Pro-tip: Distribute the weight evenly across the roof rack and avoid overloading one side of the vehicle.
Summary: Finding the Perfect Roof-Top Tent
Choosing the right roof-top tent (RTT) is an essential step in elevating your overlanding or camping experience. Whether you’re a solo adventurer, a couple, or a family, finding the perfect RTT involves evaluating your camping needs, vehicle compatibility, and desired features. Here’s a quick recap of the key points to consider:
-
Types of Roof-Top Tents: Decide between soft-shell and hard-shell RTTs based on your budget, setup preferences, and durability needs.
-
Vehicle Fit: Ensure your vehicle can handle the tent’s weight and dimensions by checking dynamic and static weight capacities, roof rack compatibility, and ladder requirements.
-
Tent Size: Choose a size that fits your group comfortably, ranging from compact options for solo travelers to large models for families or groups.
-
Setup and Features: Look for features like annexes, awnings, and insulation to enhance your camping experience, and ensure the setup process suits your style.
-
Accessories and Add-Ons: Consider useful upgrades like ladder extensions, anti-theft locks, and lighting kits for added functionality.
With the right roof-top tent, you’ll unlock the freedom to camp anywhere your vehicle can take you, from rugged trails to serene lakesides. Remember to prioritize safety, comfort, and durability when making your choice. For more tips, recommendations, and product comparisons, explore our tents and shelters webpage. Happy camping!